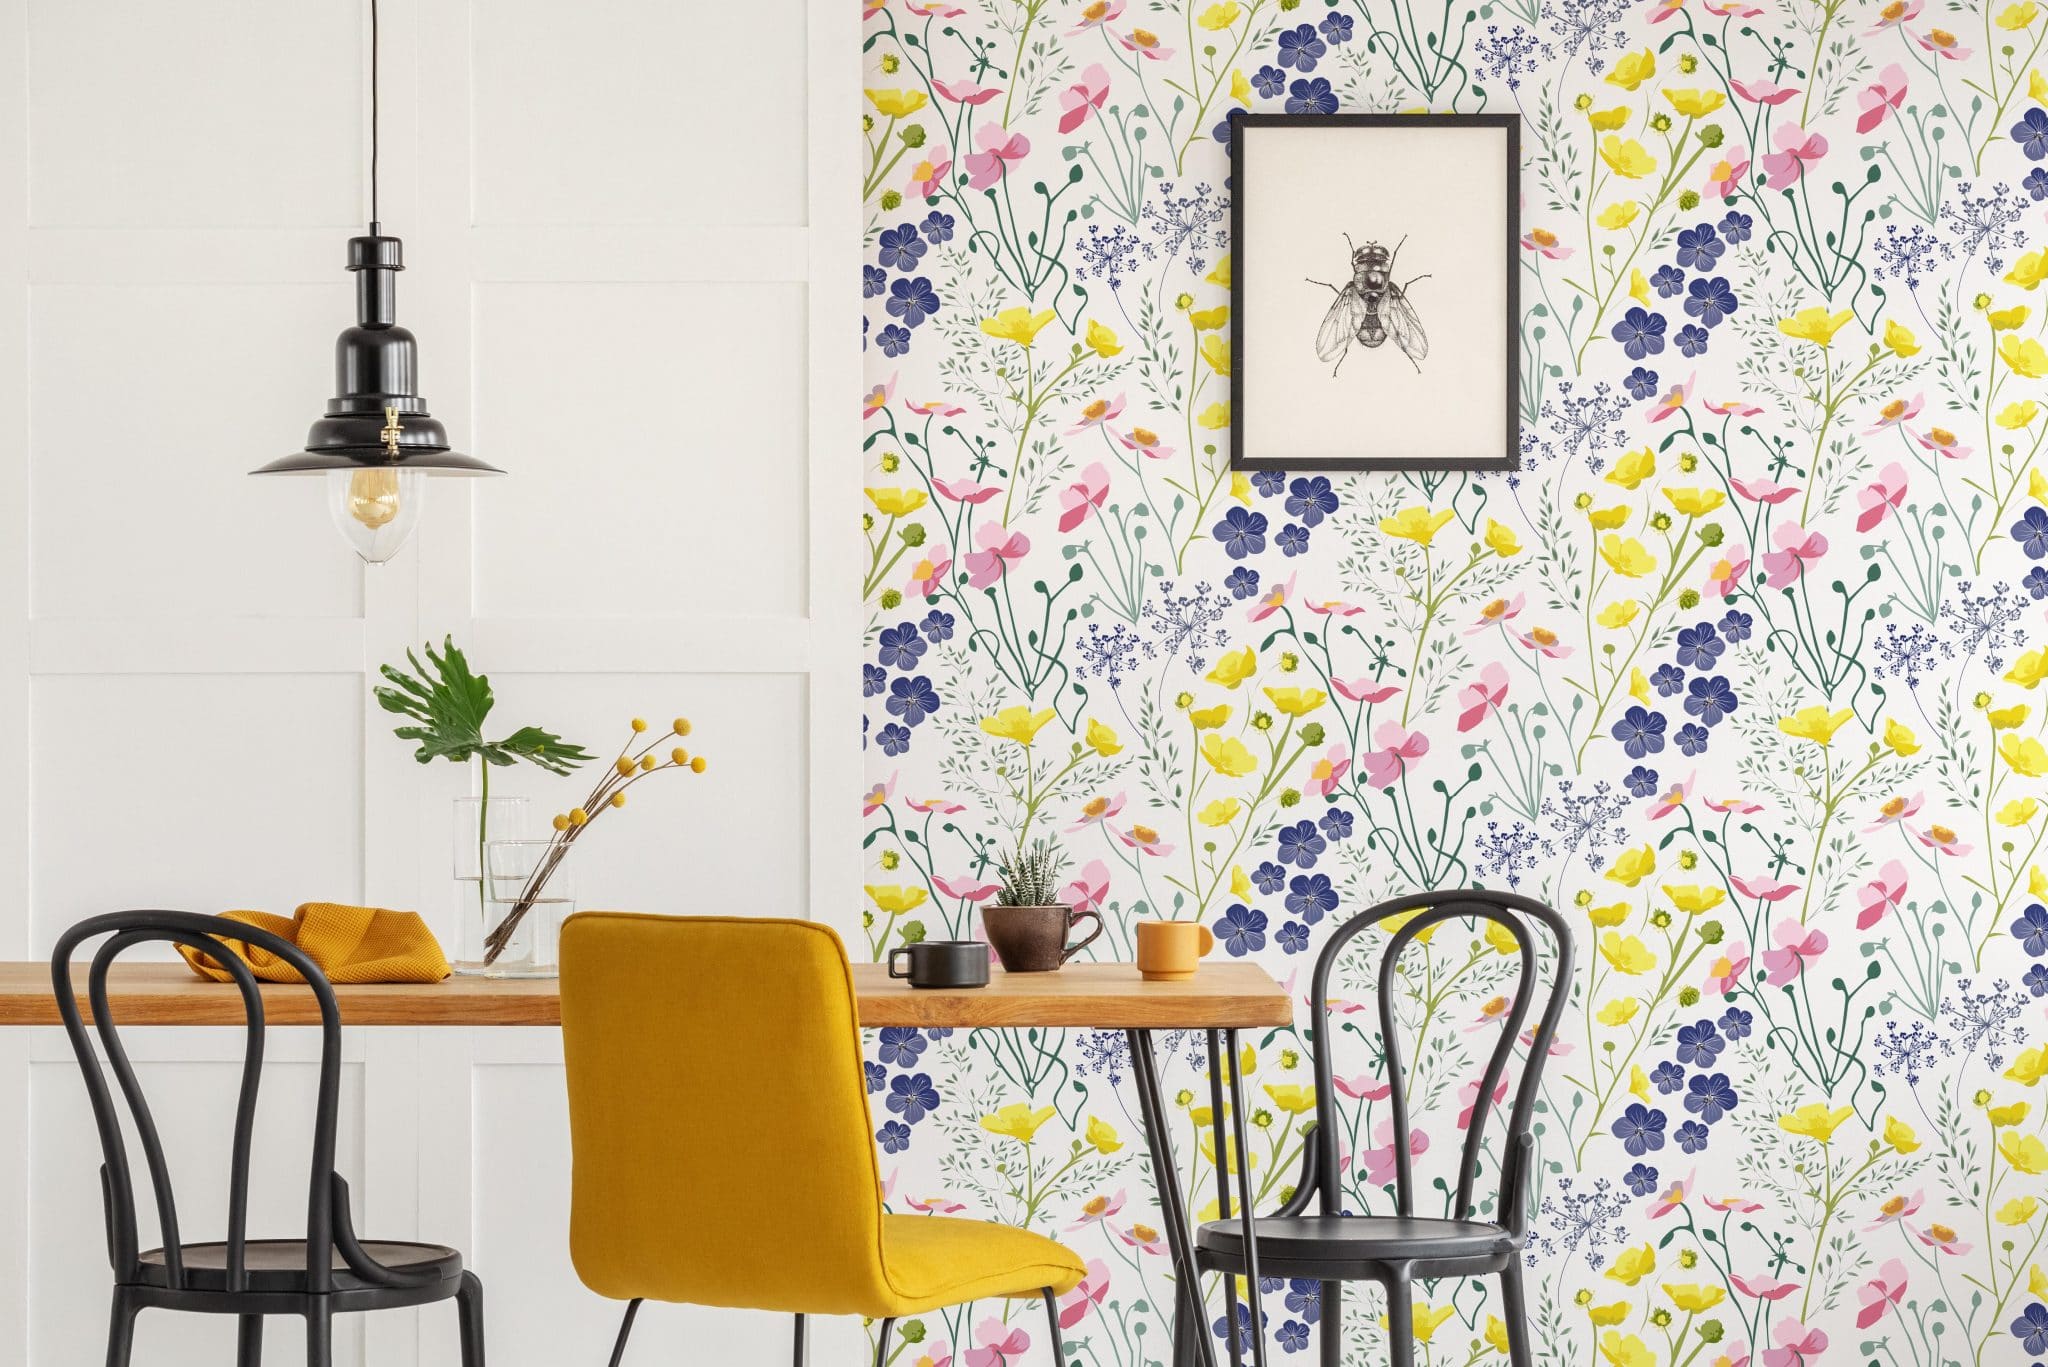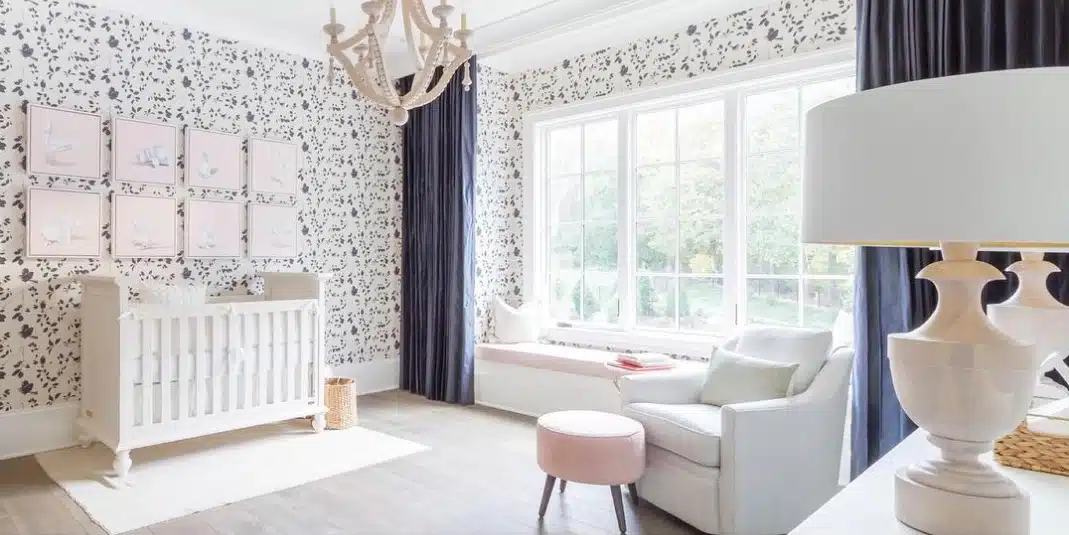
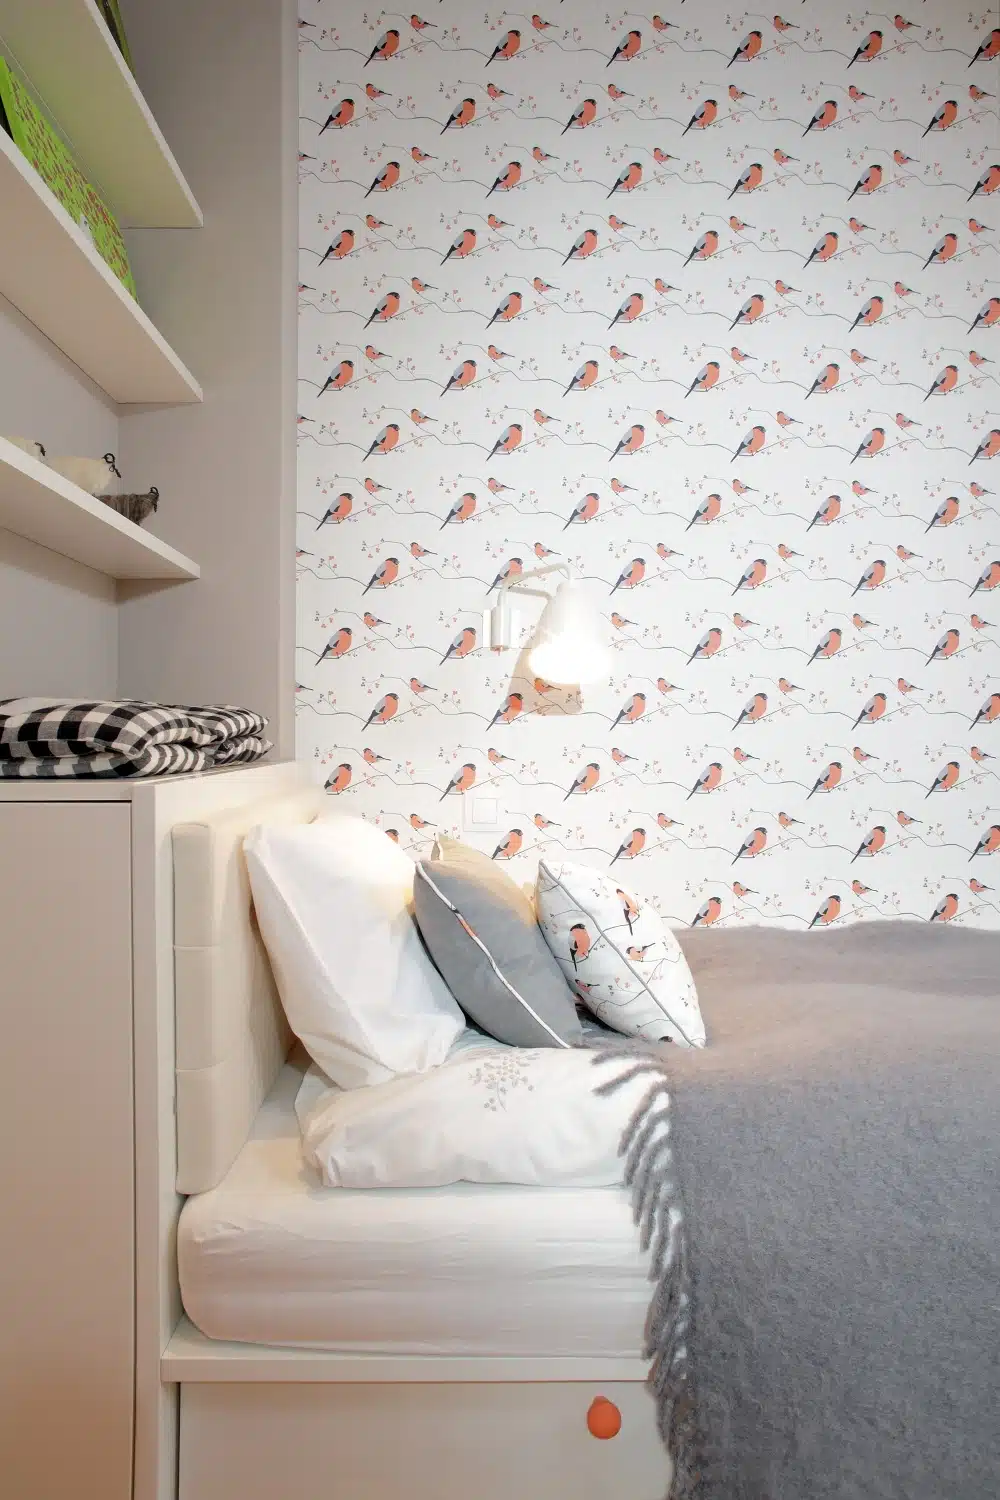
So you’ve spotted a bird wallpaper you adore; hopefully it’s one of mine, but will it actually work on your wall? Before you order a single roll, pause; I want to make sure you choose the perfect wallpaper you are going to love for years to come! A large-scale design needs plenty of uninterrupted wall to show a full repeat, while some designs really suit themselves to a small space. In this guide, I hope to share how to measure wall width and ceiling height before you look at samples, read your light, especially in north-facing rooms, and work out the repeat so you know what you’ll really see. We’ll also look at how the same bird behaves at different scales, match bird, floral and wildlife wallpaper to the room, and tackle small spaces, hallways and stairwells in the UK.
Why Your Wall Decides More Than You Think It Does.
Most people choose bird wallpaper by falling for a sample swatch. I’m the same, but once you’ve fallen in love, we need to think about how this design will work in your home.
Three things change a design more than you think: wall width, ceiling height and daylight. In my experience, you need to consider these three things alongside choosing the bird wallpaper you love!
Step 1: Measure Wall Width and Ceiling Height Before You Look at Samples
Tape measure out. Measure the full width of the wall at three points: skirting level, mid-height, and just below the ceiling. In older UK houses, walls are often not perfectly square, so the smallest figure governs everything else.
Then measure floor to ceiling and subtract skirting, cornice or coving. Typically, a standard UK ceiling sits around 2.4m, but Victorian and Georgian rooms can run to 3m or more (check your own measurements), which changes the scale a design can carry.
Decide your drop height before you shop: how much wall are you actually covering? Half-height panelling with a papered band above it changes the repeat maths completely.
Write your numbers down as width x height in metres, and keep them beside you when you browse bird wallpaper UK collections. That way you can sanity check scale against real dimensions rather than wishful thinking.
I also want to highlight that, at any point, I’m happy to have a chat with you about your room, drop me an email, send photos or do a little drawing; I’m happy to spend time making sure you get it right first time.
Step 2: Read Your Light, Especially in North Facing Rooms
Your measurements tell you what fits. Light tells you what works. This is where samples are key! We have A4 samples on the website ready to order.
Check which way your main window faces. A north-facing room gets cool, even, indirect light all day. A south-facing room gets warm light and shadow shifts across the wall. Those two rooms never show a design the same way.
Hold your sample vertically at three times of day: morning, midday and evening lamp light. Make sure you love it in all scenarios
Hallways are the classic case: they tend to be small, featureless and short on natural light, which is why designers often reach for pattern there. Pattern works, but the scale must suit the space.
As a general principle, satin and low-sheen surfaces bounce more light than flat matt, and in a dark room that shows more than the artwork itself.
Step 3: Work Out the Repeat So You Know What You Will Actually See
Light tells you how a design reads. The repeat tells you what you will actually see.
Pattern repeat is how far across the wall you travel before the design starts again. I have this displayed on the website in cm centimetres. Divide your usable wall width by the repeat width. All of my wallpapers have a 52cm repeat, apart from the Watlington wallpaper with is a wide width.
Repeat type matters too. Straight repeats stack in a grid and need cleaner wall edges. I find that half drop and offset repeats stagger, hiding awkward joins better in older rooms.
Check the vertical repeat against your ceiling height. This tells you how many times this wallpaper will repeat from top to bottom.
Small Spaces, Hallways and Stairwells: The UK Reality
Most of the feature wall questions I get come from small rooms. Box bedrooms, narrow hallways, downstairs WCs, stairwells with awkward angles and half landings. Don’t be scared to use pattern in the small spaces; it can give real impact without breaking the bank
Testing a Sample in Your Own Light
Whatever room you’re papering, the final check happens on your own wall.
Request an A4 sample. These are printed in A4, so I’ve chosen a placement on the design that means you get a real feel for the whole design.
Tape it at eye level, then again at skirting level. The same sample can look like two completely different wallpapers at knee height and shoulder height.
Now step back. Look from the doorway, from the sofa and from the furthest corner. Your first view of a feature wall is usually from a distance, not with your nose against it.
Check it three times: in daylight, at dusk with the curtains open, and under your own lamps in the evening. Evening is when most of us actually sit in the room.
Rolls, Drops and Ordering: UK Feature Wall Practicalities
Once your sample has passed the light test, the ordering maths is what keeps costs sane. Wallpaper comes in rolls, but usable coverage depends on the repeat. In practice, a large repeat means longer drops for pattern matching, so more waste per roll. Calculate on drops, not square metres: divide usable wall width by repeat width, then see how many drops each roll gives.
Buy at least one spare roll. I’m a small company and print wallpapers in small batches; even though the UK printers take the best care to make sure that there are no differences, this cannot be guaranteed. All batch numbers are printed on the wallpaper. Before committing, double-check roll dimensions and repeat and check them against your measurements. That single step prevents the expensive mistake.
Five Mistakes That Turn a Feature Wall Into an Expensive One
Five mistakes undo all that good measuring and ordering. Here they are, and how to dodge them.
- Choosing a wallpaper without seeing a sample first.
- Ignoring light direction. North-facing and low-light rooms need pale backgrounds and wider spacing.
- Under-measuring. Usable wall is always less than total width once you account for every interruption
- Not spending time making sure this is the correct wallpaper for your room.
- Ordering by square metres instead of drops. Order by drops and include the spare roll at the same time.
The fix for all five is the same sequence, every time: measure the wall, read the light, count the repeats, then choose the motif.